Self-tanners can be pretty tricky, and the result of these beauty products depends largely on who does the tanning. Obviously, you also need to consider the tanner and how well it works with your skin, but for beginners especially, there’s also the need to improve your application technique.
Have you been tanning for some time? Or maybe you’re gearing up for your first self-tan and stressing about achieving that perfect glow. Relax! We’ve got you covered with some self-tanning tips to gain a sun-kissed look at home.
Why Use Self-Tanner?
Self-tanners have quickly become the preferred option for getting a healthy and glowing tan without exposing the skin to sunlight and its dangerous UVA and UVB rays. Previously known for being smelly and sticky, these beauty products have evolved into more elegant formulations capable of providing that perfect bronze skin.
Not only are self-tanners safe to use, but they are also easy to apply, convenient to get, and often include ingredients that nourish the skin and provide healthy moisturization. They can also be applied mess-free, won’t transfer to clothes once dry, and deliver a uniform, streak-free tan.
Self-tanning provides several other benefits that make it the best choice if you’re seeking a safe yet instant and effective tan from the comfort of your home.
Types of Self-Tanner
Having mentioned how beneficial self-tanners can be, it’s worth noting that these benefits depend on the product used. Most of the best self-tanners contain dihydroxyacetone (DHA), a sugar that reacts with the skin’s natural amino acids to create a warm brown color. Other times, the formulation could feature erythrulose, an ingredient that works similarly to the DHA, reacting slowly to develop a more reddish brown tan.
That said, it’s best not to get caught up with the ingredient list as they may vary based on the brand; however, you should always consider the product type and how well it works for your requirements. There are several types of self-tanners to choose from, each with unique modes of application.
- Gels
Gel self-tanners provide a refreshing and cooling sensation and can penetrate the skin effortlessly because of their gelatinous nature. Aside from absorbing quickly, they also dry rapidly thanks to their lack of fatty substances, leaving the skin feeling even and non-greasy. Some of the best gel self-tanners include Clarins Self Tanning Instant Gel and b.tan Clear Self Tan Gel & Face Mist Kit.


- Creams
Often produced as creams, lotions, or body milk, these self-tanners are great for the body and are often regarded as the best option for the face. Aside from their tanning capabilities, they also function like most creams and lotions, helping to moisturize the skin as well. If you wish to get a cream self-tanner, you can consider the Tan-Luxe The Gradual Illuminating Tanning Lotion, and +Lux Unfiltered N°32 Hydrating Self-Tanning Cream.


- Mousse
Mousse self-tanners come in lightweight, airy foams that are easy to apply and reduce the chances of streaks and patches. Most of these self-tanners allow you to build up your ideal tan shade gradually, giving you better control over the depth of your tan. The foam also dries quickly, and you don’t have to worry about any sticky residue.
Some top-rated mousse self-tanners to consider are the Bali Body Self-Tanning Mousse, St. Tropez Self-Tan Luxe Whipped Crème Mousse and L’Oréal Paris Sublime Bronze Self-Tanning Water Mousse.


- Spray
As the name suggests, sprays work to create an effortless and uniform tan, making it another popular option. They’re perfect for tanning large areas or applying a small amount of tan to areas that are hard to reach. You can go for the Neutrogena Micromist Airbrush Sunless Tanning Spray or L’Oreal Paris Sublime Bronze Self Tanning Mist.


- Wipes
Finally, self-tanning wipes serve as the most practical and convenient options, producing a natural-looking, streak-free tan that can last for days. Some options include Dr. Dennis Gross Alpha Beta Glow Pads, TanTowel Self-Tanning Towelettes, and SOL by Jergens Instant Sun Tanning Towelettes. You can easily slip these products into a bag and carry them around, making wipes perfect for people on the go.


Self-Tanning Guide
Achieving a sun-kissed glow without the effects of UV exposure is a lot easier with the right home self-tanning tips and products. Whether you’re a beginner or a pro, this self-tanning guide will help you navigate the entire process effectively.
#1: Exfoliate
Exfoliation is a crucial step for a flawless self-tanning result as it helps to eliminate dead skin cells and creates the perfect base for your tan. However, it’s important to exfoliate at least 24 hours before tanning. We recommend using a washcloth or an exfoliating product to remove dead skin and even out your skin tone.
You should also pay extra attention to dry and thicker areas like the elbows and knees, ensuring the entire body is smooth and prepared and the tan applies evenly and looks natural.
#2: Moisturizing
While self-tanning, there’s a chance your tan clings to very dry areas; hence, it’s best to always hydrate thoroughly before self-tanning. One of the best tanning hacks for hydration is applying a moisturizer daily in the weeks leading up to your tan session. Also, focus on the dryer areas mentioned above to enhance the overall look and achieve a natural-looking tan.
#3: Remove Hair at Least 24HRS before and Avoid Fragrances
One of the most important yet easy self-tanning tips for achieving a flawless tan is timing, and this applies to everything, from exfoliation to moisturization and even hair removal. For the best results, you should shave or wax at least 24 hours before any self-tanner application process. With this, you give your pores enough time to close properly, ensuring the tan does not sink in and cause dark spots.
Similarly, deodorants and perfumes can also cause an uneven appearance. More often than not, they create a sticky layer on the skin’s surface and prevent the tan from adhering. It’s best to completely skip deodorants, perfumes, and anything with fragrance before and during the tanning process to ensure it develops evenly and flawlessly.
#4: Select the Perfect Tan and Apply in Sections
The next step is to consider the different self-tanning types and select one that suits your requirements. For instance, if you’re seeking instant results, go for mousses, as these self-tanners have high-concentrated ingredients that give an instant bronze tone. On the other hand, cream tanners develop with time into a flawless and subtle tan, usually within two to three days.
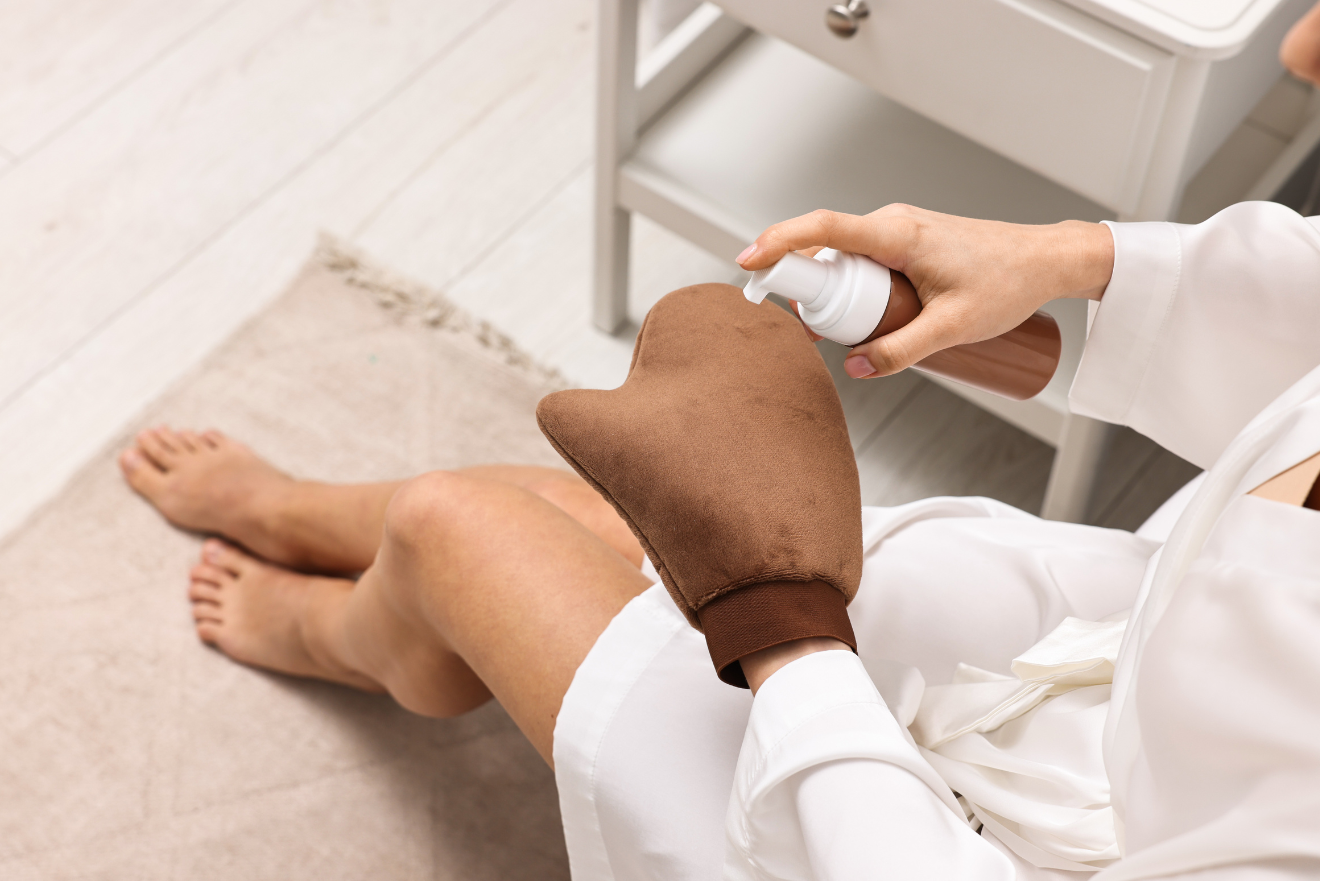
After choosing an appropriate self-tanner, apply the production in sections, starting with areas like the arm and then moving to the torso, legs, and face, if needed. While applying, gently massage the self-tanner into the skin in a consistent, circular motion for even coverage. You should also remember to wash your hands after applying the tanner, particularly if you opt for cream self-tanners. Those using mousses can skip this step as they come with mitts.
#5: Focus on Joints
Most people tend to leave out the joints when self-tanning. You should always pay attention to the wrists, elbows, knees, and ankles, as these areas tend to absorb more product than other body parts. It’s good practice to dilute the self-tanner by applying it with a damp towel or adding a little lotion to the self-tanner for extra moisturization.
#6: Leave to Dry
After the self-tanner application, leave it to dry for about ten minutes before getting dressed. For the best results, opt for light, loose-fitting clothes for the next few hours. It’s also advisable to avoid activities that may cause sweating during this time to ensure the tan sets evenly.
#7: Apply Sunscreen Daily
Self-tanners do not contain SPF, so it’s still important to protect your skin with a good sunscreen. For comprehensive protection, choose a sunscreen that provides broad-spectrum protection with at least SPF 30.
Here you go! Some of the top fake tan tips for a seamless self-tanning routine. These tanning hacks will ensure you get the most out of the process. However, if you feel like you missed a step and wish to reapply, then it’s best to remove all traces of the previous tan first. This helps to prime the skin for a fresh tan application.
The easiest way to remove the previous tan is with a remover mousse and mitts. Some top products include the St.Tropez Tan Remover Mousse & Primer and Bondi Sands Self Tan Eraser. All in all, with these tips and tanning products, you can get a sun-kissed glow from the comfort of your home.


